Monday, December 31, 2018

Wishing you all a very Happy New Year 2019

Wishing you all a Happy New Year 2019.


Thank you for reading my blog. See you in 2019

Thursday, December 6, 2018

How do you load JSON data into PowerBI?

JSON data source were recently added to Power BI Data sources.

{
I have taken this JSON file from the following site;

 https://www.kodingmadesimple.com

and I will be using in this post.

Here is an abbreviated JSON file (with *.json extension) I am using.
--------------------------------------

  "data": [
    {
      "name": "Garrett Winters",
      "designation": "Accountant",
      "salary": "$170,750",
      "joining_date": "2011/07/25",
      "office": "Tokyo",
      "extension": "8422"
    },
    {
      "name": "Brielle Williamson",
      "designation": "Integration Specialist",
      "salary": "$372,000",
      "joining_date": "2012/12/02",
      "office": "New York",
      "extension": "4804"
    },
     ,
     ,
    {
      "name": "Quinn Flynn",
      "designation": "Support Lead",
      "salary": "$342,000",
      "joining_date": "2013/03/03",
      "office": "Edinburgh",
      "extension": "9497"
    }
  ]
}

-----------
Note that each Json element has six attributes.

Step 1:
You first need to save it to a location of your choice. You could also have it on an URL, but here it is assumed to be in one of the folders.

Launch PowerBI; Click GetData; Click More...

Click JSON


You need to browse and locate your JSON file (it will have  a.json extension).


My Koding.json file is now in Data View as shown.


 I go back to Edit Queries as I did not edit earlier.


 Now I have a query as shown in the left pane.


I had 15 elements in the JSOn file and they have become 16 records after getting it into PowerBI. Now go back to query using Edit Query as before. Now you see an extra control in Column 1 for splitting into its components.


I click the split control. The Query now appears as shown.


Now I convert this into table as shown above. Now what I see in DataView is the following:


The six elements are resolved into six fields as shown above. We will use this later. Click File | Save to save this file in the .pbix format. Presently it has the JSON data only.


That is all folks!

Sunday, December 2, 2018

How do you bring in XML data into PowerBI?

Here is how to do it.

Launch PowerBI. Click Get Data.

Click XML. Open dialog is displayed. Previously I saved a CD.XML file from W3C site here.


I highlight CD.xml and click Open. Power BI processes my input, and brings up the CD.xml in the Navigator as shown.


I place a check mark for CD.XML. The file loads into the Navigator.


I click Load. My action Load gets processed.


Now CD.XML is loaded into PowerBI. I still don't see it.


 Change it to DataView on the Left. Now you see the data in CD.xml.


That's all folks. Now you can do what you want to do in PowerBI.

Friday, November 30, 2018

How do you load Excel data into PowerBI?

Get ready and keep an Excel file you want to load in an accessible location.

Launch PowerBI and click Get Data handle. The first submenu item is EXCEL.


Click Excel. In the Open dialog browse and locate you EXCEL file (*.xlsx). 


Click Open and the Navigator is displayed with the SampleExcel.xlsx file. It has only one sheet with a default name. In a real case you may have multiple sheets.

Click Sheet1. The data gets loaded on to the right pane as shown. There is an Edit button we will take it up later. The Navigator has all the columns on the original EXCEL sheet as shown.


 Click Load and the data gets loaded into PowerBI. Click the 'table' on the left pane (the data is in the center pane). The data is shown in a tabulated fashion as shown.

That's all! It's like 1-2-3


Thursday, November 29, 2018

How do you access data in a Text/CSV file using PowerBI?

It is quite easy as long as you have a good Text/CSV file.

I have previously used this file FFD.txt in earlier posts.

https://hodentekmsss.blogspot.com/2016/12/creating-csv-file-from-sql-server-2012.html

I am going to use the same file in this post.

Launch PowerBI and Click GetData.


Click Text/CSV submenu item. This brings up an 'Open' window as shown which lets you search through your folder system.


 Locate the FFD.txt file on your drive and click Open. The file is displayed in the PowerUI as shown.


Click Load at the bottom of the above.

 The data gets loaded as shown.

Now click on Data in the left as shown and the data is displayed.


This is all folks. It is quite easy to bring in Text/CSV data into PowerBI

Wednesday, November 28, 2018

Can you restore a legacy database to SQL Server 2017 using Azure Data Studio?

The short answer is, Yes.

Azure Data Studio (ADS) is a cross-platform database management tool for managing SQL Servers and it was previously named SQL Operations Studio.

If you do not know what Azure Data Studio, Please review this.

If you want to install Azure Data Studio, Please review this.

In what follows, just follow the indicated steps after launching Azure Data Studio. As a preparation you need to:
  • Connect to SQL Server 2017 from within ADS
  • Have in hand the backup file (*.bak)
  • Make sure you place the above in the Public folder
I am connected to SQL Server 2017 which is installed on my desktop (laptop). It is a default installation as described in the links above.

After I launch ADS and connecting to SQL Server 2017 (default instance), this is what I see. I have no User Database. You are seeing only the System Databases,


I click on the Restore in Tasks and the following page opens. I am restoring from a File and use the handle for Restore from and change it to file and then browse for the backup file which is in my case,
Northwnd.bak.


I browse my computer for the legacy database file (Northwind.bak) and browse to its location in the Public folder as shown.


 The rest of the fields you can accept the defaults unless you want to change, as shown. As soon as you indicate the file, it gets displayed as shown.


Click Restore and it gets restored. You see it in the ADS user interface as shown.

Before Restore

After the restore operation

It took ridiculously three steps to restore.

You can verify it in SSMS version 17.9.1


You need to Restore before you see the new object in Object Explorer.


Tuesday, November 27, 2018

How do you install Azure Data Studio?

As per previous post SQL Operations Studio has become Azure Data Studio.
You can download from this site here:

https://docs.microsoft.com/en-us/sql/azure-data-studio/download?view=sql-server-2017


You will be downloading this executable file:
azuredatastudio-windows-setup-1.2.4.exe (77,371KB)

You can double click and install. Here are some instllation screen shots.


After clicking Finish you should find the app added to your All Programs.


Because of your choice, the file will be in this folder.

C:\Program Files\Azure Data Studio\azuredatastudio.exe (64.5MB)


Monday, November 26, 2018

What is Azure Data Studio?

It used to be called SQL Operations Studio.

Azure Data Studio is a cross-platform tool to access SQL Server on the three platforms presently:
Windows
macOS
Linux

Azure Data Studio offers a modern editor experience with Intellisense, code snippets, source control integration, and an integrated terminal. It is engineered with the data platform user in mind, with built in charting of query result sets and customizable dashboards. 

You can do a lots of SQL Server tasks with this. Here are a number of posts that may be worth visiting:

https://hodentekmsss.blogspot.com/search?q=sqlops


Friday, November 23, 2018

How easy is it to install SQL Server 2017?

Installing SQL Server has gotten a lot easier compared to versions earlier than 2016. Installing SQL Server 2017 (a default installation) is a breeze. After you install SQL Server you are guided to install the required client tool, the SQL Server Management Studio.

Here are some screen shots with some explanations. They are mostly sequential.

Installing SQL Server 2017

Click to enlarge the picture and follow the link [ https://www.microsoft.com/en-us/sql-server/sql-server-downloads ] to the download page and choose a on-premises, developer edition. The next images on this post assumes a Windows 10 platform. You can get SQL Server 2017 on LINUX and MacOS as well.


Click double click the downloaded file to begin importing files and installing.
I chose the Basic option. When you click it the background turns blue.


Before proceeding you need to accept the license terms.


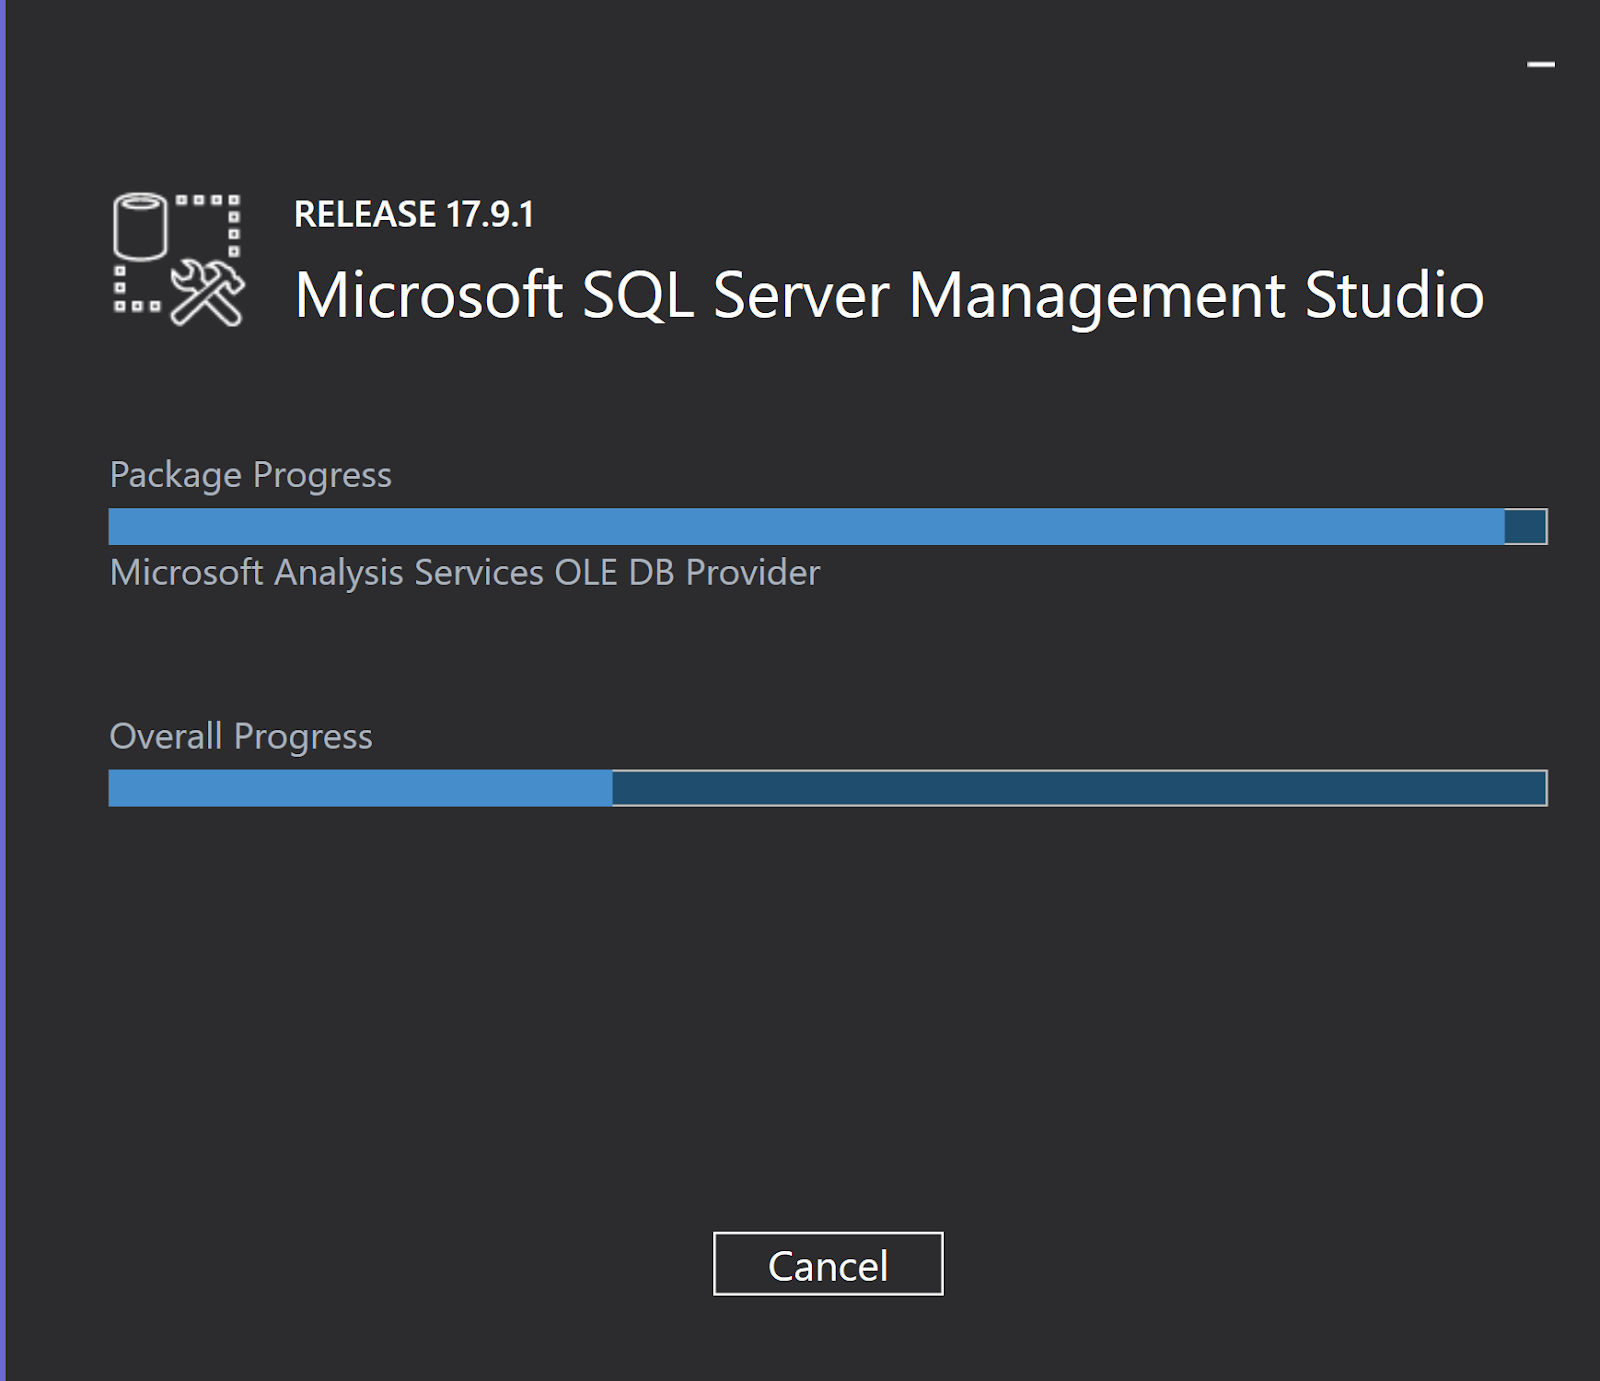
It starts installing and shows the progress.


Well, you have a default instance of SQL Server 2017 installed. Boy! was it easy. It also starts the SQL Server Database Engine Service immediatley. You may have to restart the computer at this point.

Installation is a Success!


The following shortcuts were added to my All Programs.


I opened up the SQL Server 2017 Configuration Manager from the above and checked out that the Server indeed installed.


Installing SQL Server Management Studio

If you need to work with SQL Server 2017 there is no better visual aid than SQL Server Managment Studio. 

Clicking InstallSSMS button on the previous image maked [Installation is a Success! ]takes you to the next site. You may need to do nothing for this to install. In my case, it did not complete. My download was interrupted and only got a partial file.


I downloaded the SSMS file from here.


This is the executable for SSMS.


Double cliking the executable begins installing the SQL Server Management Stuido 17.9.1.


Click Install.


 Installation is complete.

Although I was expecting only SSMS, a whole lot of programs were added. Is it real, or the others shortcuts were added after SQL Server 2017 installation and restart of the computer, I cannot say,


Starting the SQL Server Maangement and Connecting to the SQL Server 2017

First check if the Windows Service for SQL Server 2017 Database Engine has started and if it has not you can start here.


Now click the SQL Server 2017 Management Studio in your All Programs menu above.

Now display the SQL Server 2017 from the lis tof Database engines as shown and click connect. You do not need to do anything else as the installaiton program has set you up as the Owner with your Windows Login.


In the Browse for Servers window highlight the Database instance [Hodentek9-New in this post] and click OK. The Server name appears in the window left to it and click Connect.

After a little checking you get connected. Now you can expand the Object Explorer to have the first look at the objects on your default instance as shown.

That's it folks. You are cooking!