Installing SQL Server has gotten a lot easier compared to versions earlier than 2016. Installing SQL Server 2017 (a default installation) is a breeze. After you install SQL Server you are guided to install the required client tool, the SQL Server Management Studio.
Here are some screen shots with some explanations. They are mostly sequential.
Installing SQL Server 2017
Click to enlarge the picture and follow the link [ https://www.microsoft.com/en-us/sql-server/sql-server-downloads ] to the download page and choose a on-premises, developer edition. The next images on this post assumes a Windows 10 platform. You can get SQL Server 2017 on LINUX and MacOS as well.
Click double click the downloaded file to begin importing files and installing.
I chose the Basic option. When you click it the background turns blue.
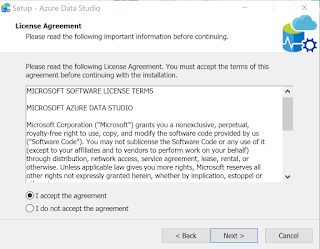
Before proceeding you need to accept the license terms.
It starts installing and shows the progress.
Well, you have a default instance of SQL Server 2017 installed. Boy! was it easy. It also starts the SQL Server Database Engine Service immediatley. You may have to restart the computer at this point.

The following shortcuts were added to my All Programs.
I opened up the SQL Server 2017 Configuration Manager from the above and checked out that the Server indeed installed.
Installing SQL Server Management Studio
If you need to work with SQL Server 2017 there is no better visual aid than SQL Server Managment Studio.
Clicking InstallSSMS button on the previous image maked [Installation is a Success! ]takes you to the next site. You may need to do nothing for this to install. In my case, it did not complete. My download was interrupted and only got a partial file.
I downloaded the SSMS file from here.
This is the executable for SSMS.
Double cliking the executable begins installing the SQL Server Management Stuido 17.9.1.
Click Install.
Installation is complete.
Although I was expecting only SSMS, a whole lot of programs were added. Is it real, or the others shortcuts were added after SQL Server 2017 installation and restart of the computer, I cannot say,
Starting the SQL Server Maangement and Connecting to the SQL Server 2017
First check if the Windows Service for SQL Server 2017 Database Engine has started and if it has not you can start here.
Now click the SQL Server 2017 Management Studio in your All Programs menu above.
Now display the SQL Server 2017 from the lis tof Database engines as shown and click connect. You do not need to do anything else as the installaiton program has set you up as the Owner with your Windows Login.
In the Browse for Servers window highlight the Database instance [Hodentek9-New in this post] and click OK. The Server name appears in the window left to it and click Connect.
After a little checking you get connected. Now you can expand the Object Explorer to have the first look at the objects on your default instance as shown.
That's it folks. You are cooking!


